Multifunctional Household Storage Rack
Multifunctional Household Storage Rack
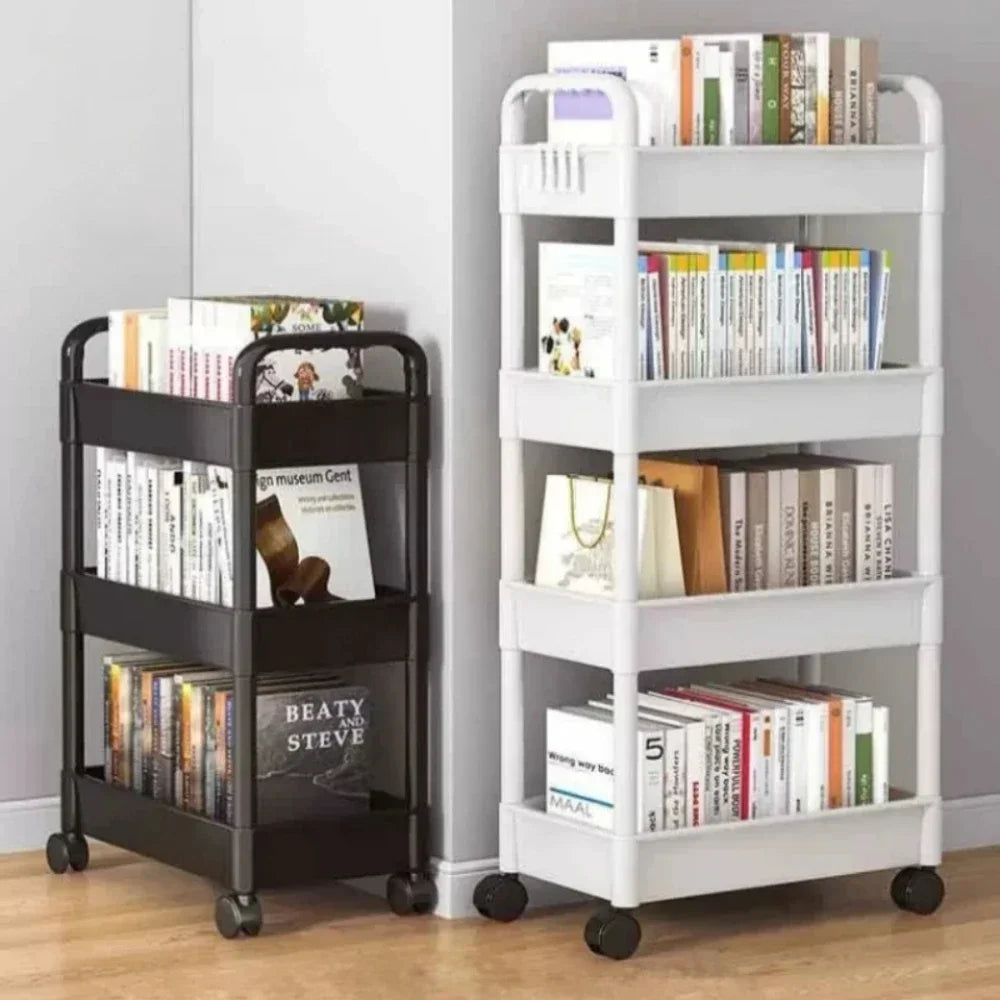
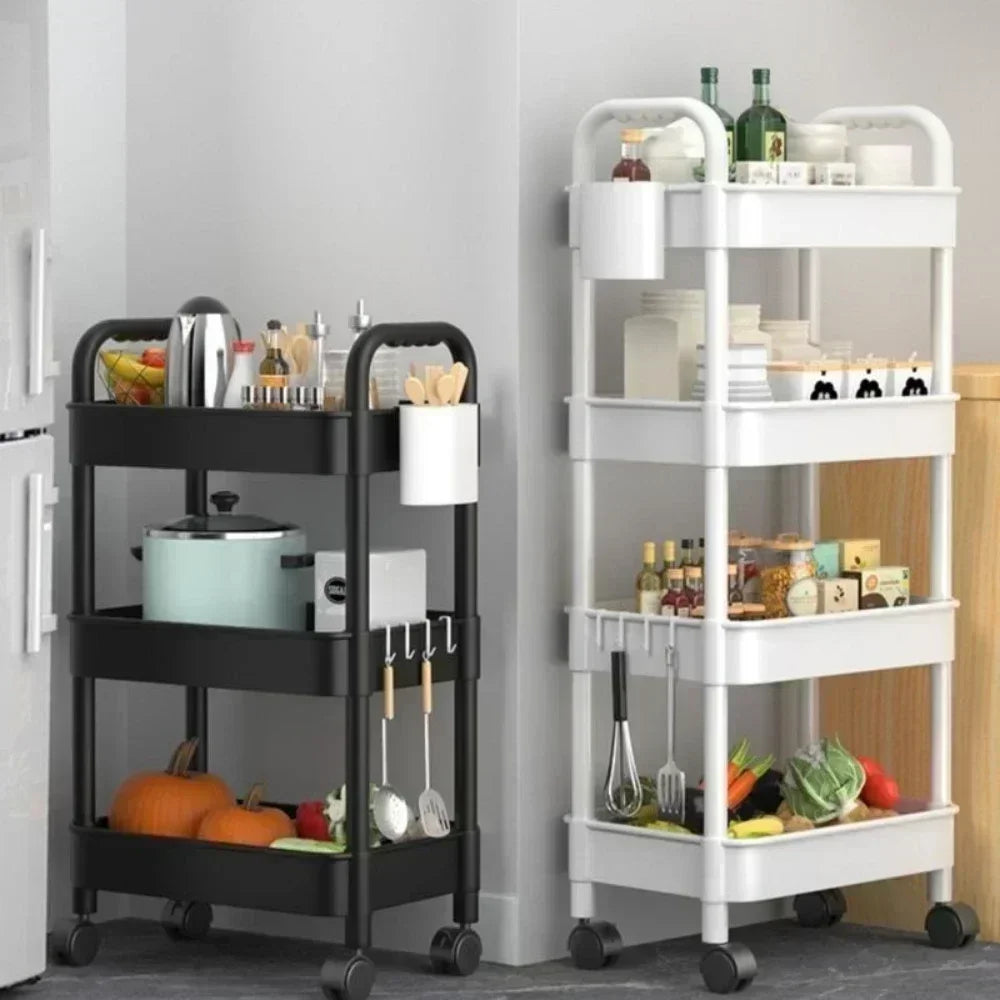
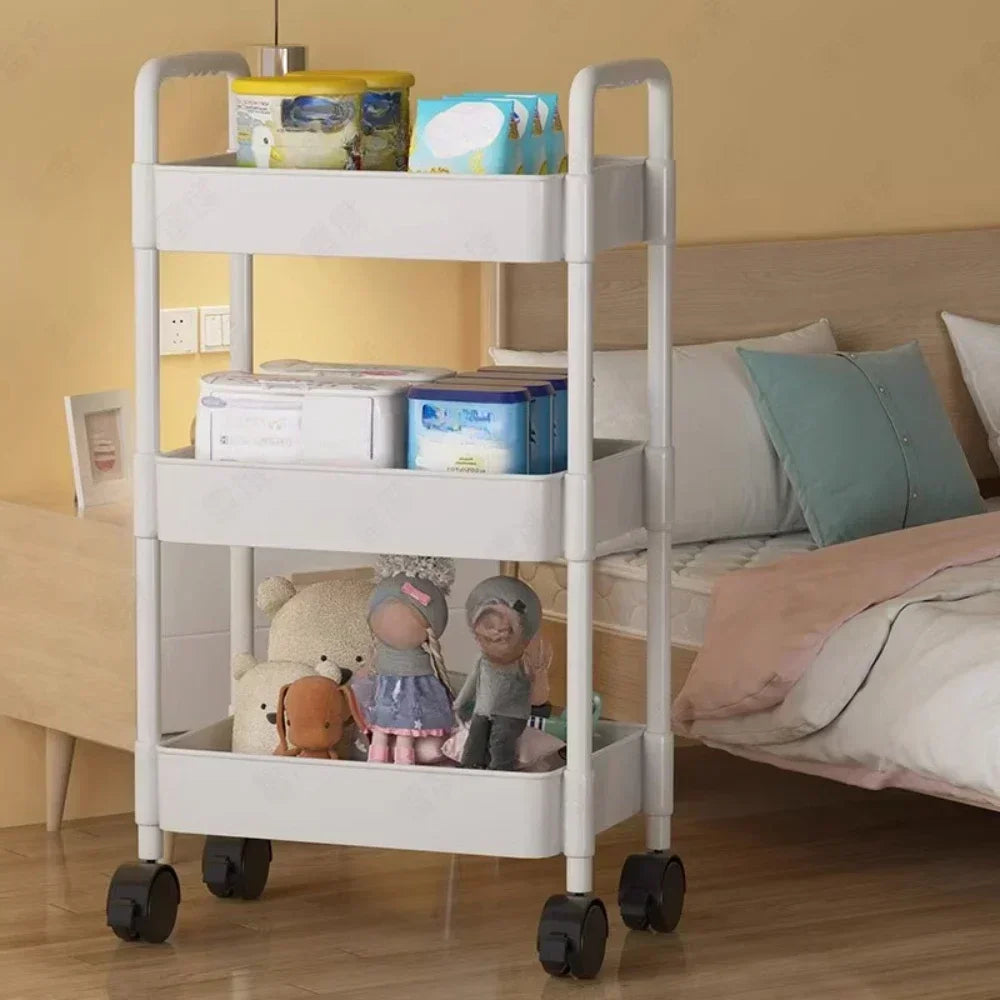
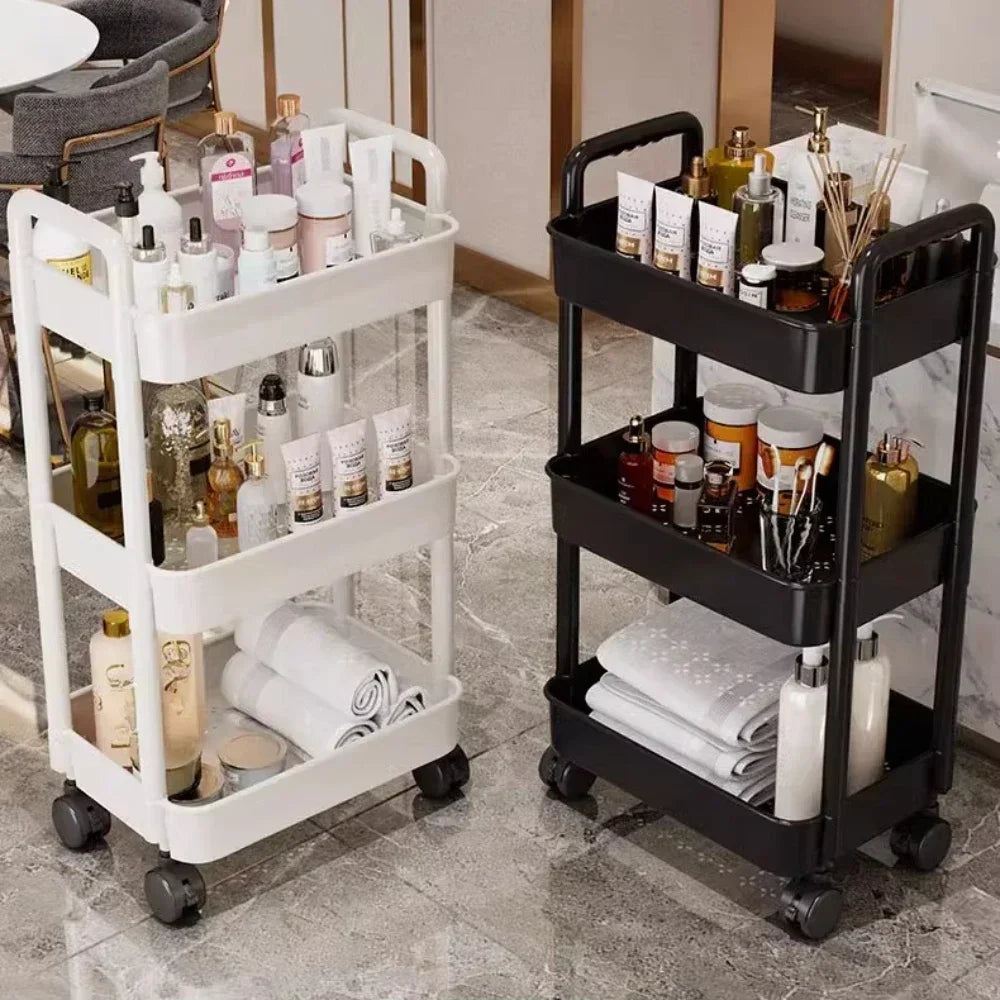
Keep your space organized with our multifunctional Household Storage Rack. Compact, durable, and versatile, it's perfect for optimizing every corner of your home.
Keep your space clutter-free
Versatile and Durable
Stylish and Reusable
Modular and Eco-Friendly
Couldn't load pickup availability
How it works
How it works
Modular Design: Our Multifunctional Household Storage Rack features a modular design, allowing you to customize it to fit your space and needs. Each component easily connects to the others, providing endless possibilities for configuration.
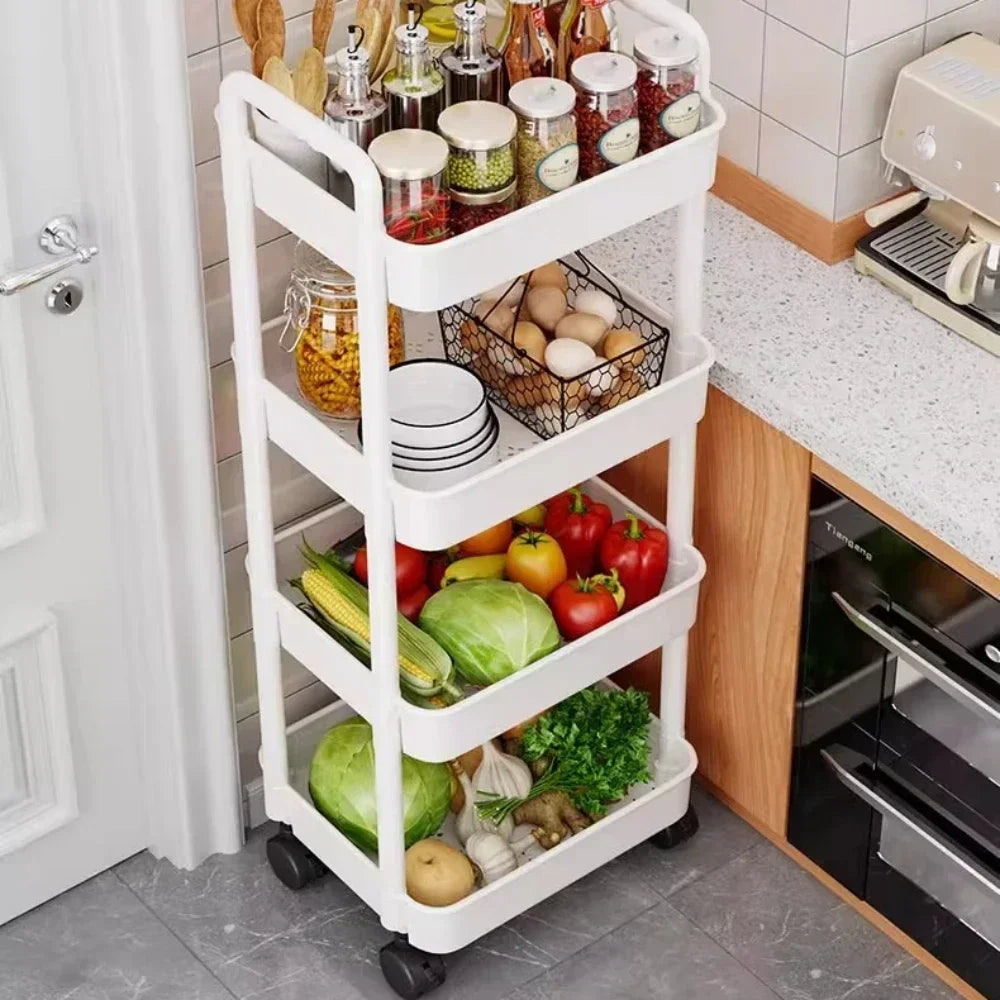
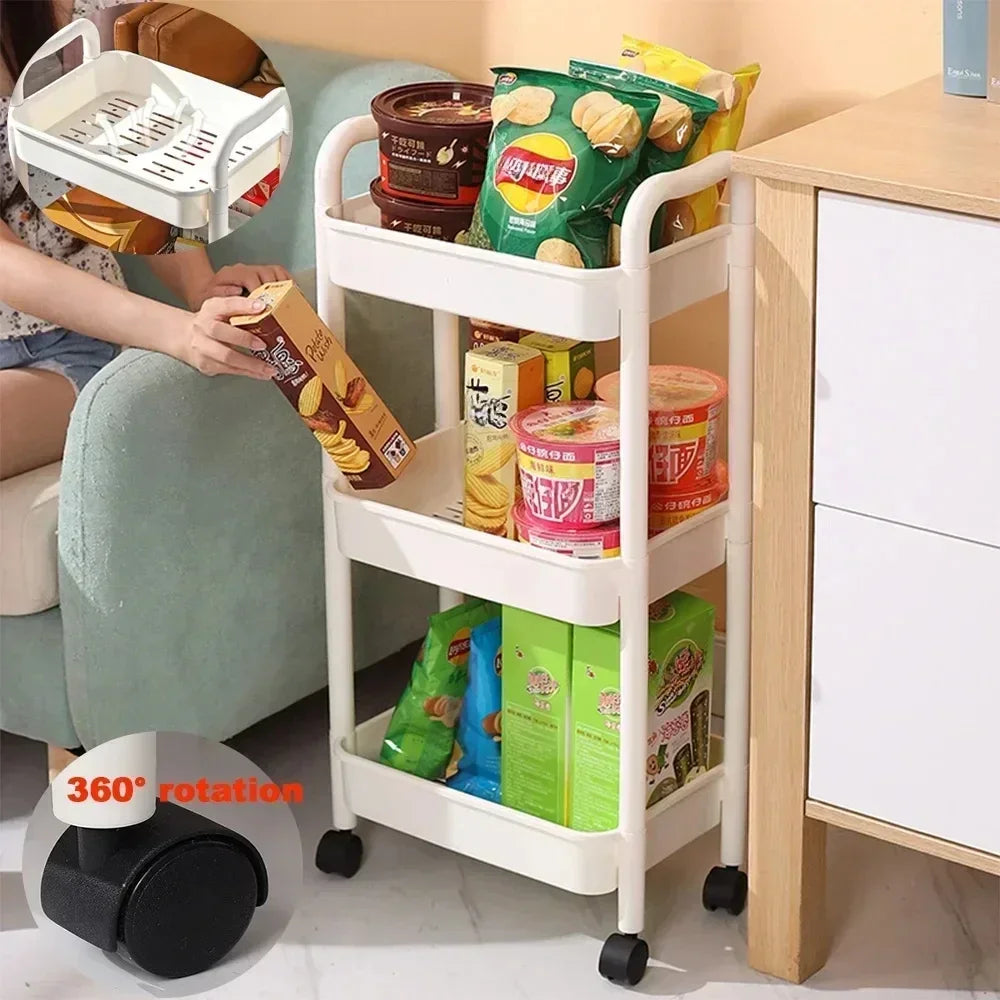
Versatile Functionality: Whether you need additional shelf space in your kitchen, a tidy shoe rack by the door, or organized storage in the garage, this rack has you covered. Its versatile design makes it suitable for any room in your home.
Easy Assembly: Setting up your storage rack is a breeze. With simple instructions and no need for special tools, you can have it assembled and ready to use in minutes.
Durable Construction: Crafted from high-quality, durable materials, our rack is built to last. It can support heavy items without buckling or bending, ensuring your belongings stay secure and organized.
Eco-Friendly Materials: We care about the environment, which is why our rack is made from eco-friendly materials. You can feel good about choosing a storage solution that reduces your carbon footprint.
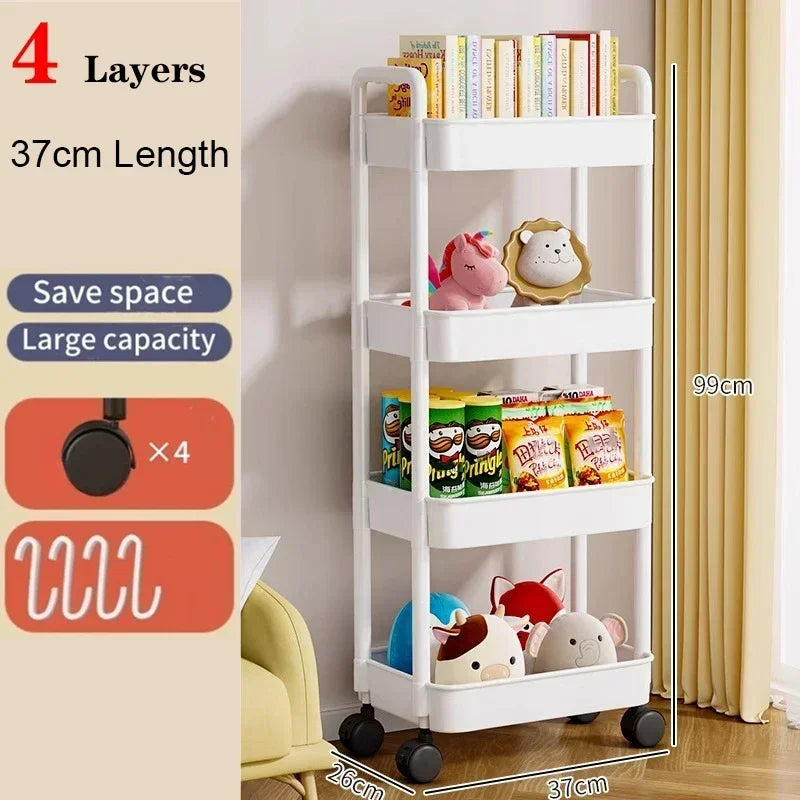
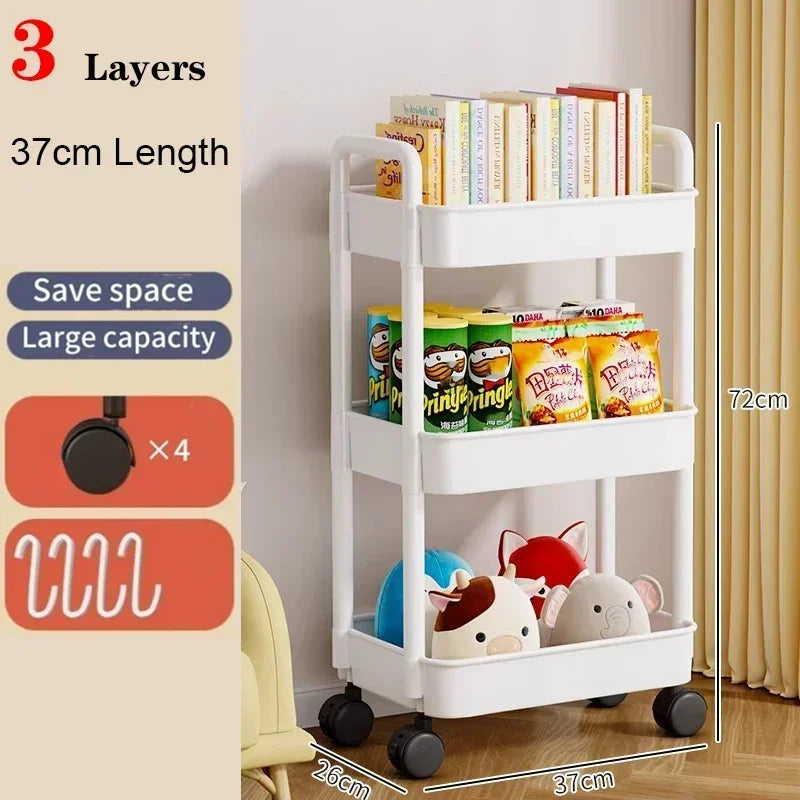
Space Optimization: Say goodbye to clutter and hello to efficient space utilization. Our rack maximizes vertical storage, helping you make the most of your available space.
Instructions
Instructions
Step 1: Unbox and Inspect
- Carefully unbox your Multifunctional Household Storage Rack and lay out all the components.
- Inspect each piece to ensure there are no damages or missing parts.
Step 2: Arrange Components
- Choose the configuration that best suits your space and needs.
- Lay out the upright posts and shelves according to the desired layout.
Step 3: Connect Upright Posts
- Begin by connecting the upright posts together.
- Align the slots on each post and slide them together until they click into place securely.
Step 4: Attach Shelves
- Once the upright posts are connected, it's time to attach the shelves.
- Insert each shelf into the slots on the upright posts, starting from the bottom and working your way up.
Step 5: Secure Components
- Ensure that each shelf is firmly seated in the slots.
- Gently push down on each shelf to ensure it is properly secured in place.
Step 6: Adjust Height (If Applicable)
- If your rack features adjustable shelves, decide on the desired height for each shelf.
- Simply lift the shelf and reposition it in the desired slot on the upright posts.
Step 7: Final Check
- Once all shelves are in place, give the entire rack a final inspection.
- Ensure that all components are securely connected and that the rack is stable.
